The design process
Here you can read a little about our design process

Design ideas
1. Mood boards
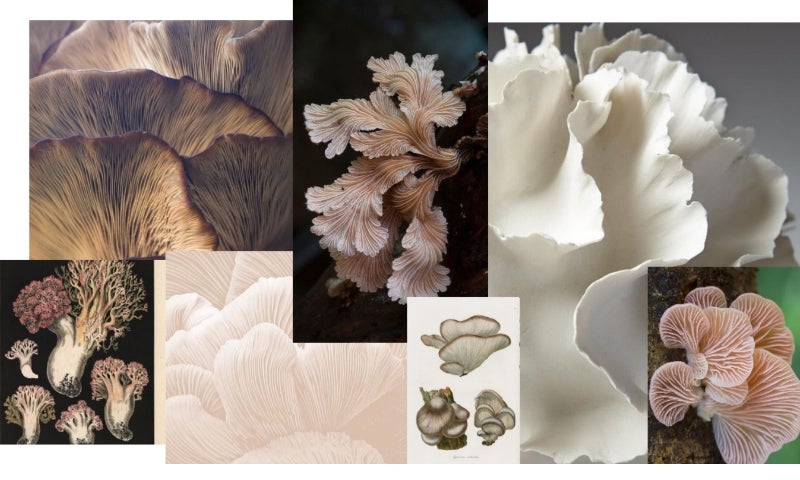
Now, I'm not a designer, so I worked with the talented designer Karolina Sikorska to get the creative process in place. What you see today is the result of many hours of work where we have drafted ideas, made changes or started from scratch to make sure everything was perfect for the first collection. The starting point for the design process was to create mood boards with images, textures, colors – anything that gave inspiration. Pinterest is a mecca for anyone who likes to geek out with digital scrapbooks. Here you can see the first mood board for the Mushroom Picking print.

Design development
2. Sketches for ideas
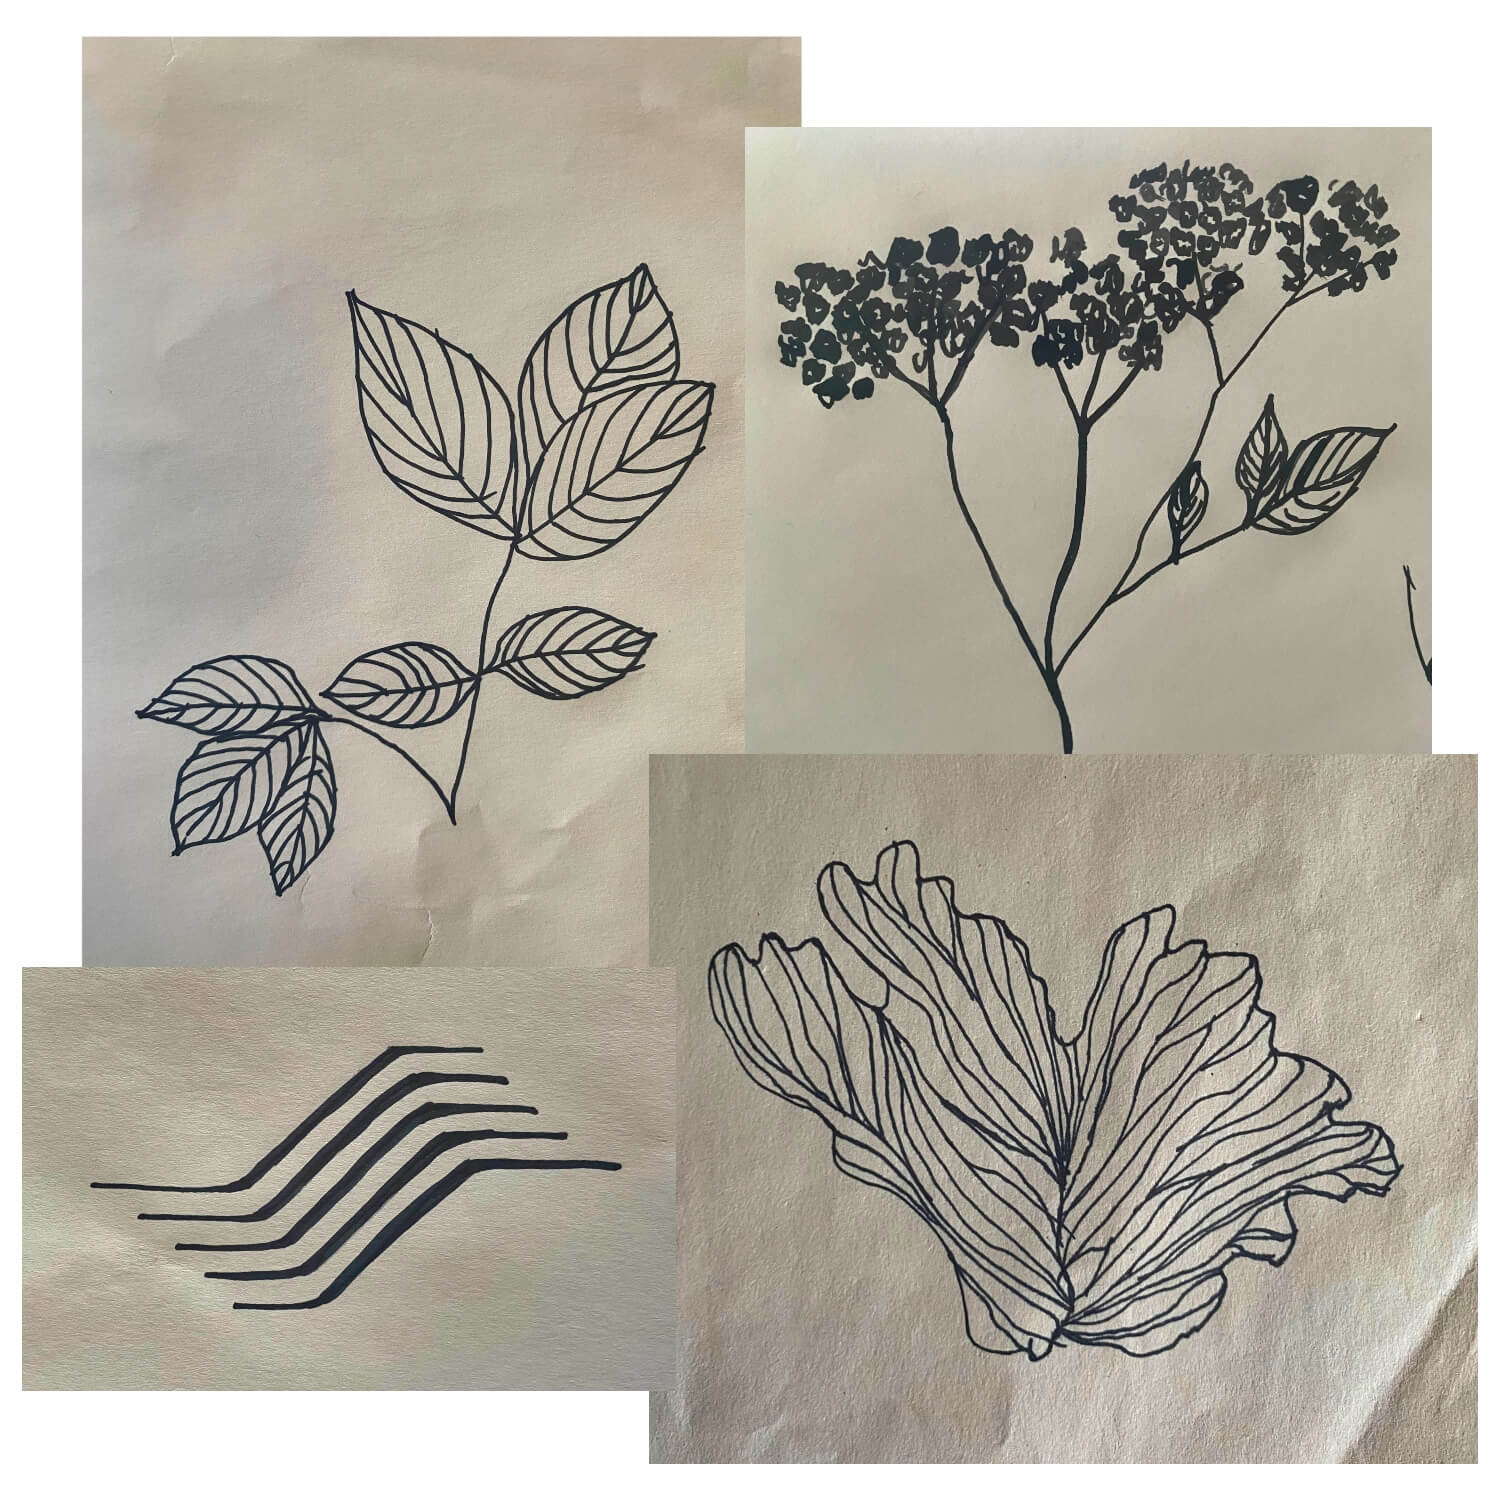
Karolina then worked on idea sketches, drawings and vector images for several different design ideas. It's an ongoing process where we discuss ideas back and forth – some of them work when done at that scale, while some ideas are beautiful but just don't work as a repeating pattern to be used for the print on the playmat.
3. Color matching
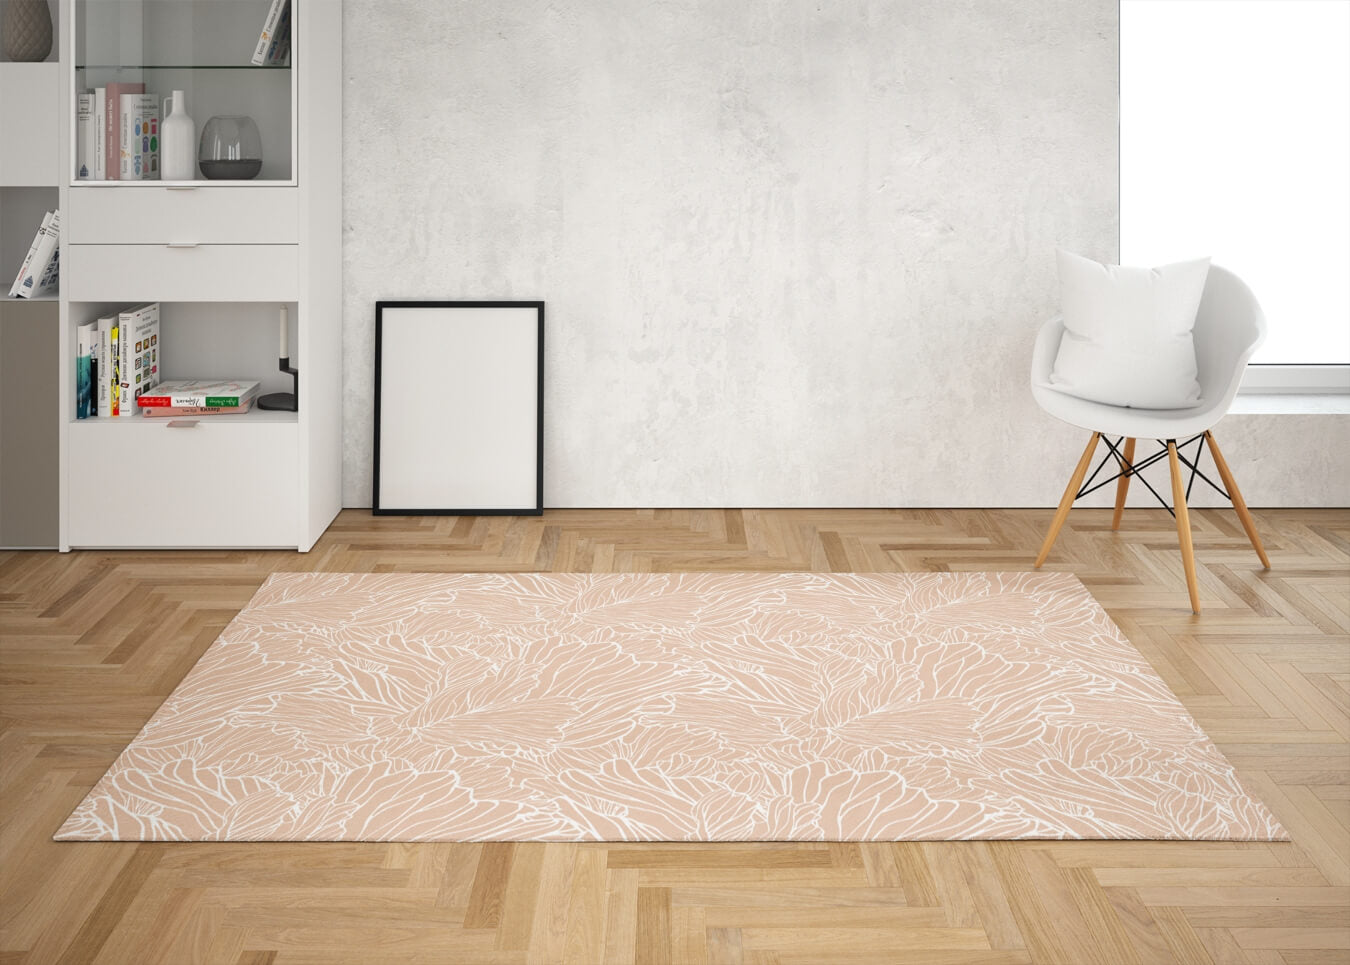
Once all the designs are complete, the next stage is the manufacture of printing rollers and color matching to make them a reality. Each design has between 1 and 5 pressure rollers. We arranged for the first proofs to be sent by airmail so we could check that everything looked perfect in real life before we started mass production. Once all the samples were approved, it was just full speed ahead with mass production.

Ready for production
4. Press the mats
The pattern is printed in long seamless strips, rolled on the mat and finally cut to size and heat sealed along the edges. It was important to us that the excess material created in the process did not go to waste, so we decided in consultation with the manufacturer that they could take the cut material scraps from the edges and use them to make samples. So it is that we produce the fabric samples that you can order to see the colors and designs in your own home, and in that way we minimize our waste in the process.